I am in no way claiming to be an expert or professional manicurist. I’ve really only started painting my nails again 5 years ago. I say again, because I used to paint my nails as a little girl, but I can’t remember the last time I did so. Over those 5 years, there has definitely been a learning curve and a lot of trial and error. I’d like to share some tips that I have picked up that I’ve found to be helpful as a beginner to painting my nails. Hopefully, they will be helpful for you, as well.

DON’T try to be perfect. The small imperfections used to frustrate me so much, and I did have days where I just had to start over. But you’re a beginner! Give yourself the freedom to make mistakes and learn new techniques from them. Plus, I can pretty much guarantee that no one is going to notice your mistakes. I try to remember this quote:
“Any creative endeavor is like washing the pan after making turkey: it will look a lot worse before it looks better.”
DON’T try to remove polish you may get on the skin around your nail if it’s very close to your nail. I find that when I try to clean up around the edges of my nail, the Q-tip just ends up removing some of the polish off my nail, too. Instead, take a shower. That will take the nail polish off your skin without removing it from your nails.
DON’T pick your nail polish off. I know, sometimes it’s irresistible when you have chips, but picking your nail polish ruins the surface layer of your nail and creates a mess no one wants to deal with. If you have one or two small chips, try to ignore them. If you find you cannot, try to fix them up using something with a small tip, like a paperclip or orange stick. It may not look absolutely perfect, but it will make your polish last a little longer before you need to take it off (with nail polish remover!).
 DO paint your nails on a hard surface with good lighting and newspaper protecting the surface. I find this to be the easiest way to paint nails, especially when I was first starting out.
 DO make sure your nails have a nice, even shape before painting them. If they’re long, make sure they’re all long. If they’re short, make sure they’re all short. Fix up any broken or uneven nails!
DO pick up some essential colours. As a beginner, you don’t need too many bottles of nail polish, as you’re probably not the type who changes out their nail colour once or twice every week. But for special events and the occasional whim, it’s important to have some universally complimentary colours. I began with a white, a nude, a pink, a red, and a top coat. I would also suggest investing in a black and a base coat. You can begin to add more trendy colours as you become more immersed in the hobby, but I find these to be the necessary ones.
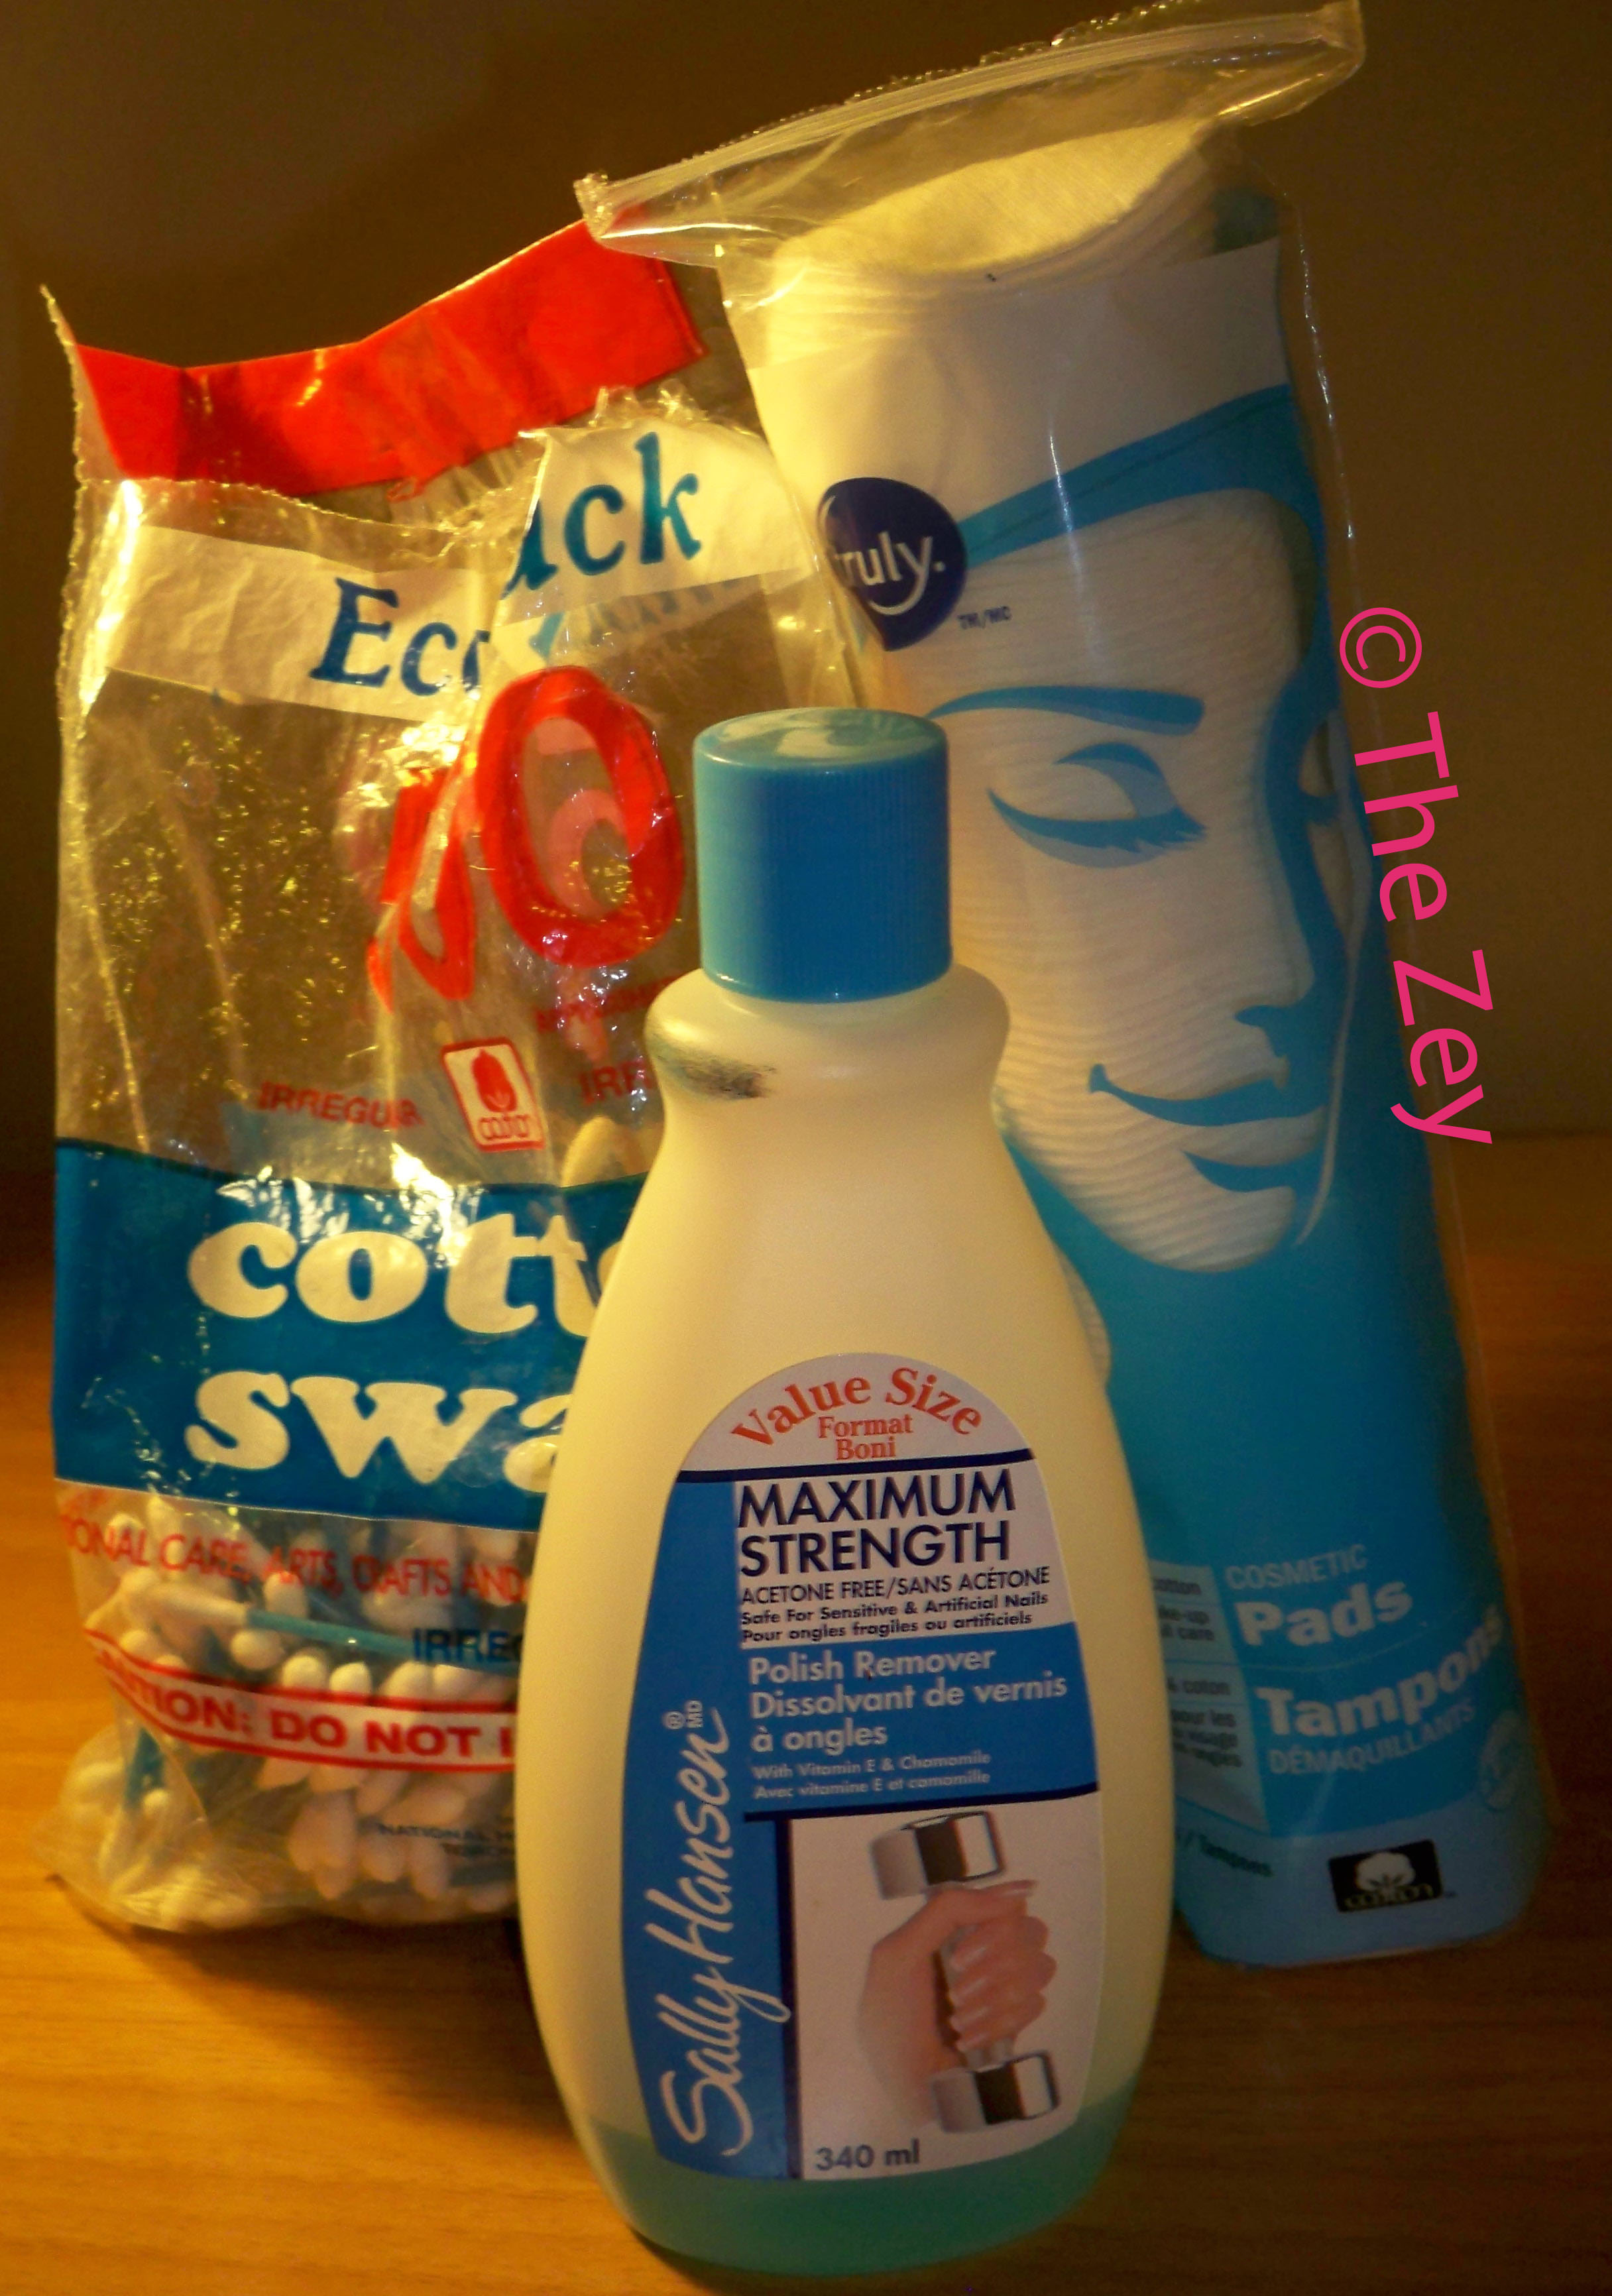 DO invest in nail polish remover, cotton swabs and/or cotton pads! This goes without saying.
DO check clearance sections in drugstores and wherever else nail polish is sold. Oftentimes, these polishes have nothing wrong with them, but stores want to get rid of them ASAP so they can make room to display new collections that come out. Don’t be alarmed if any of them have a top layer of a runny substance over the polish reminiscent of the separation of water and oil. Nail polishes do tend to separate if they’ve been sitting for a long time, but you can easily fix that by shaking the bottle. If, however, you can gauge that a nail polish has become gloopy, I would pass on that polish. It will not apply well, trust me. You will need to add nail thinner to redeem that polish, and that’s a hassle I personally didn’t want to deal with.
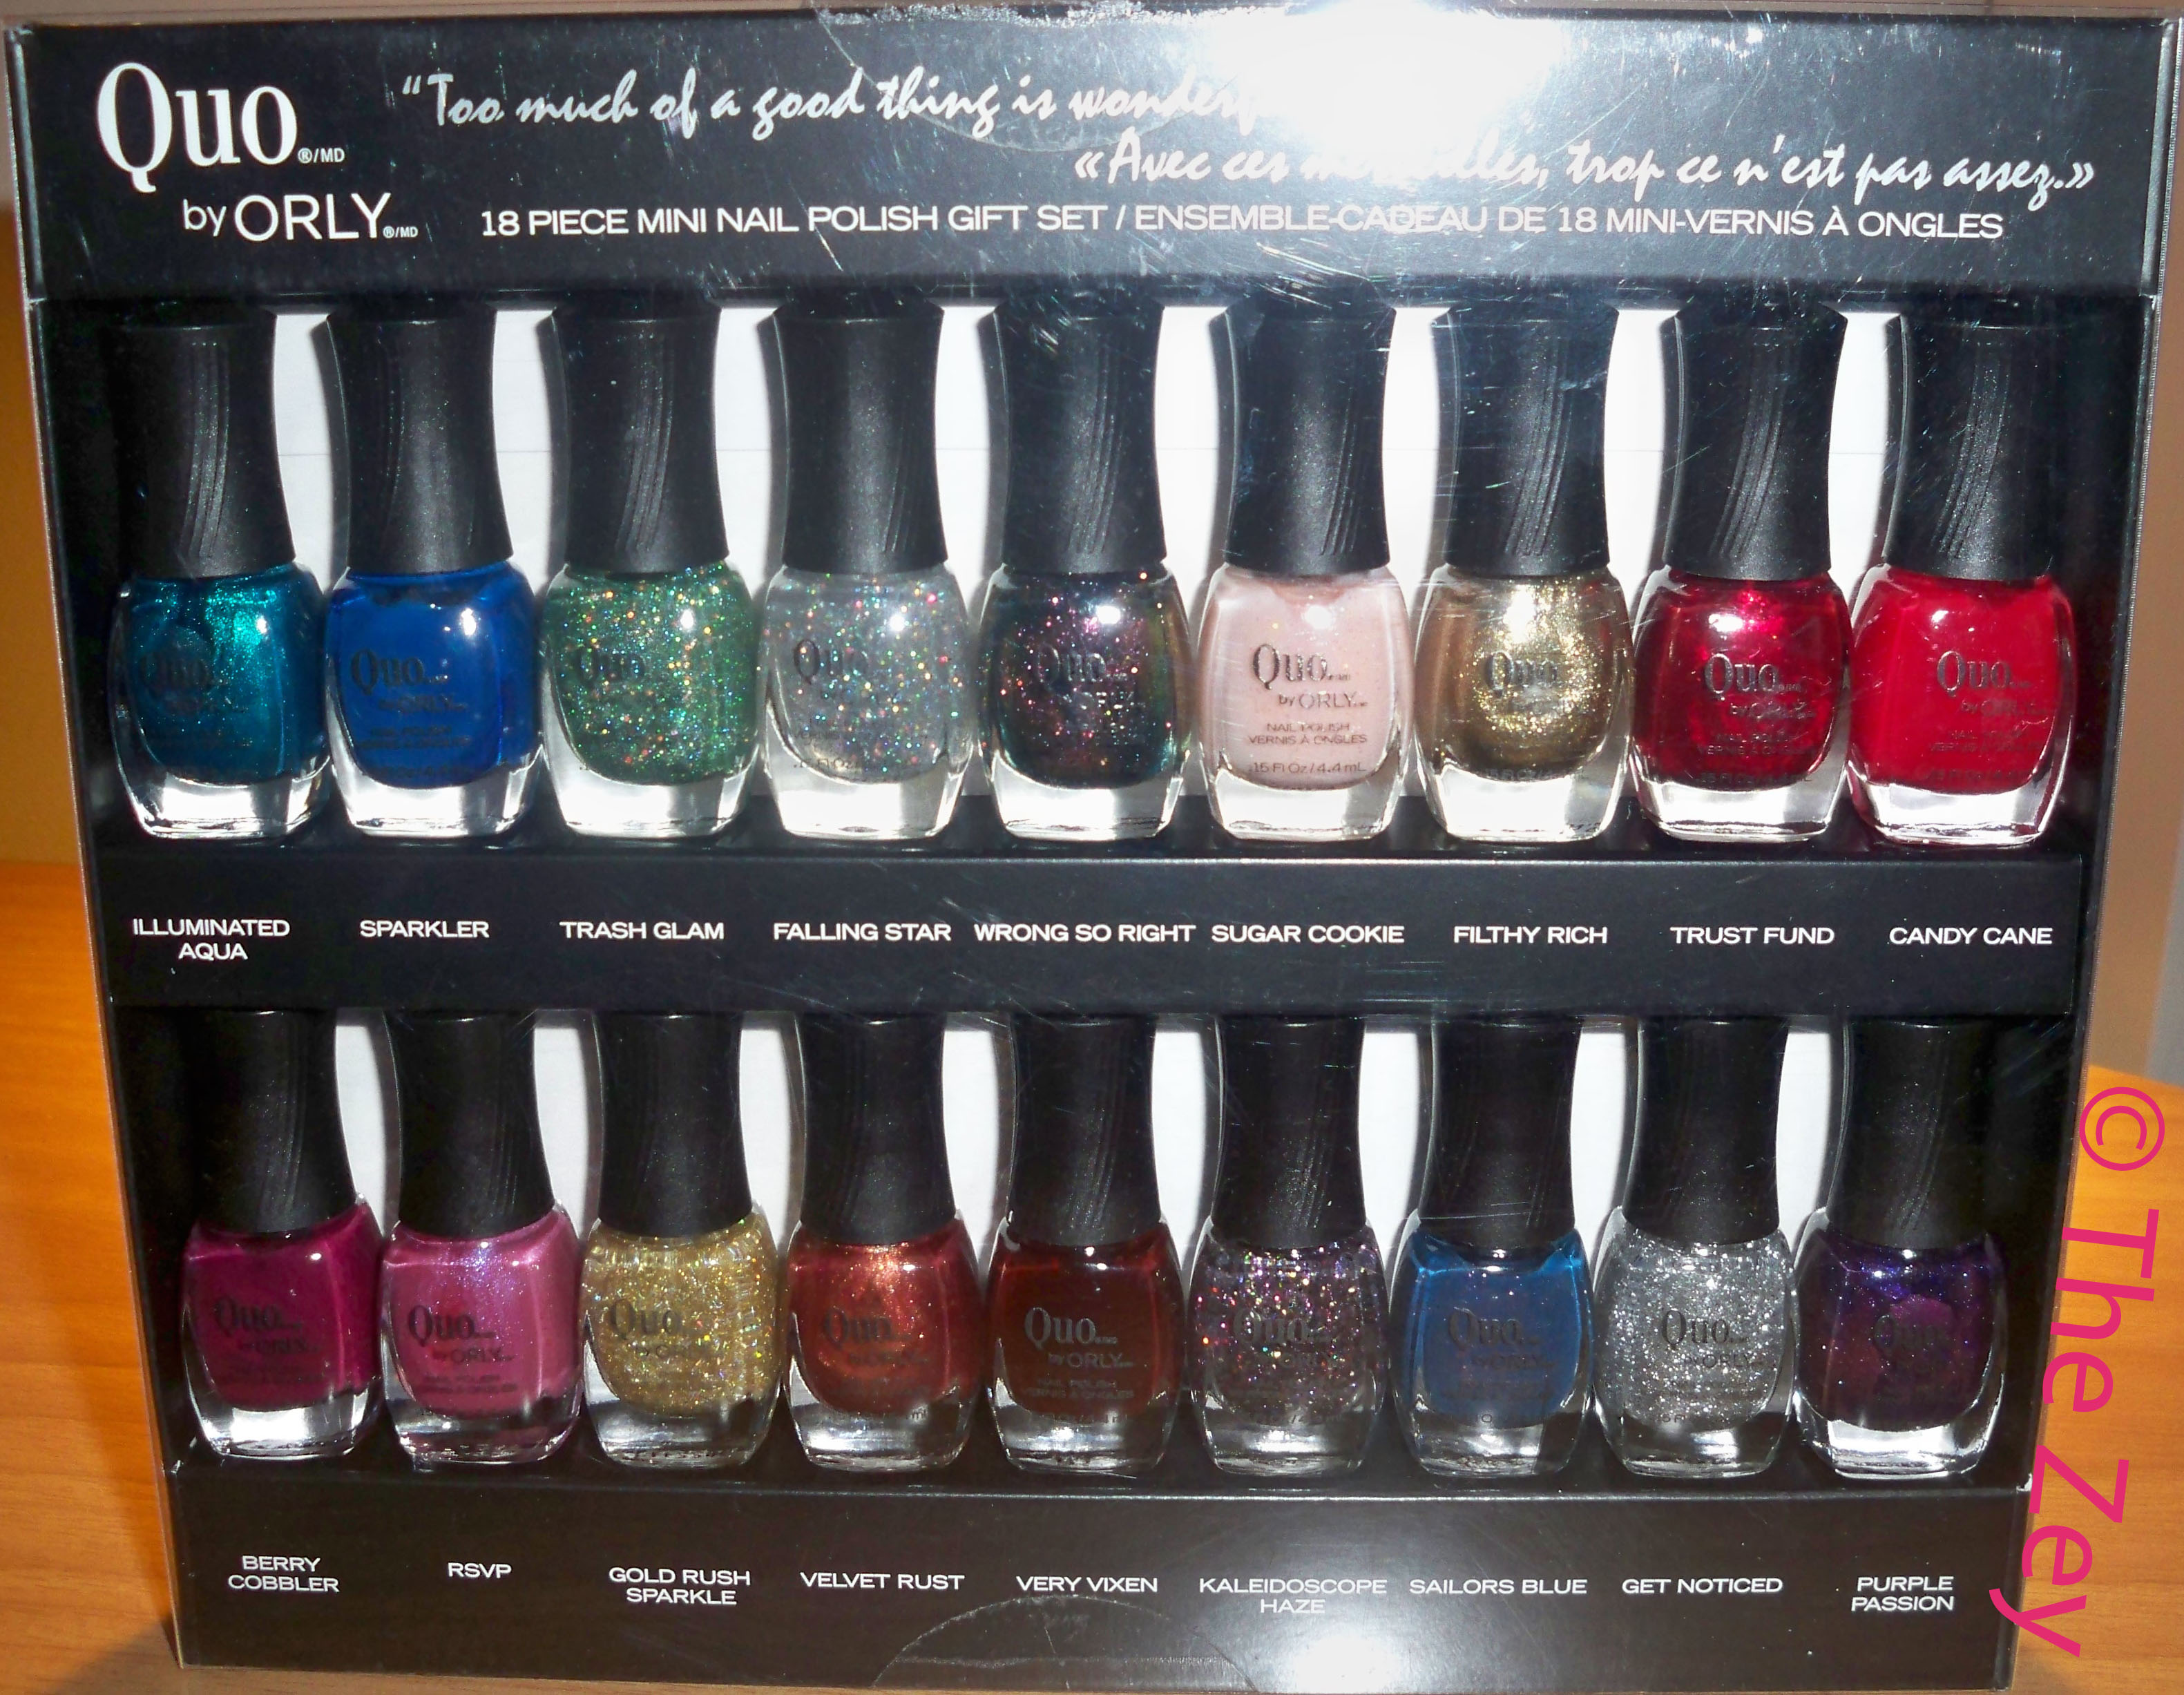 DO buy a set of mini polishes. Again, chances are, you’re not painting your nails on a weekly basis, but you may want to have a variety of colours to choose from. A set of mini polishes is a great way to have that variety without investing too much.
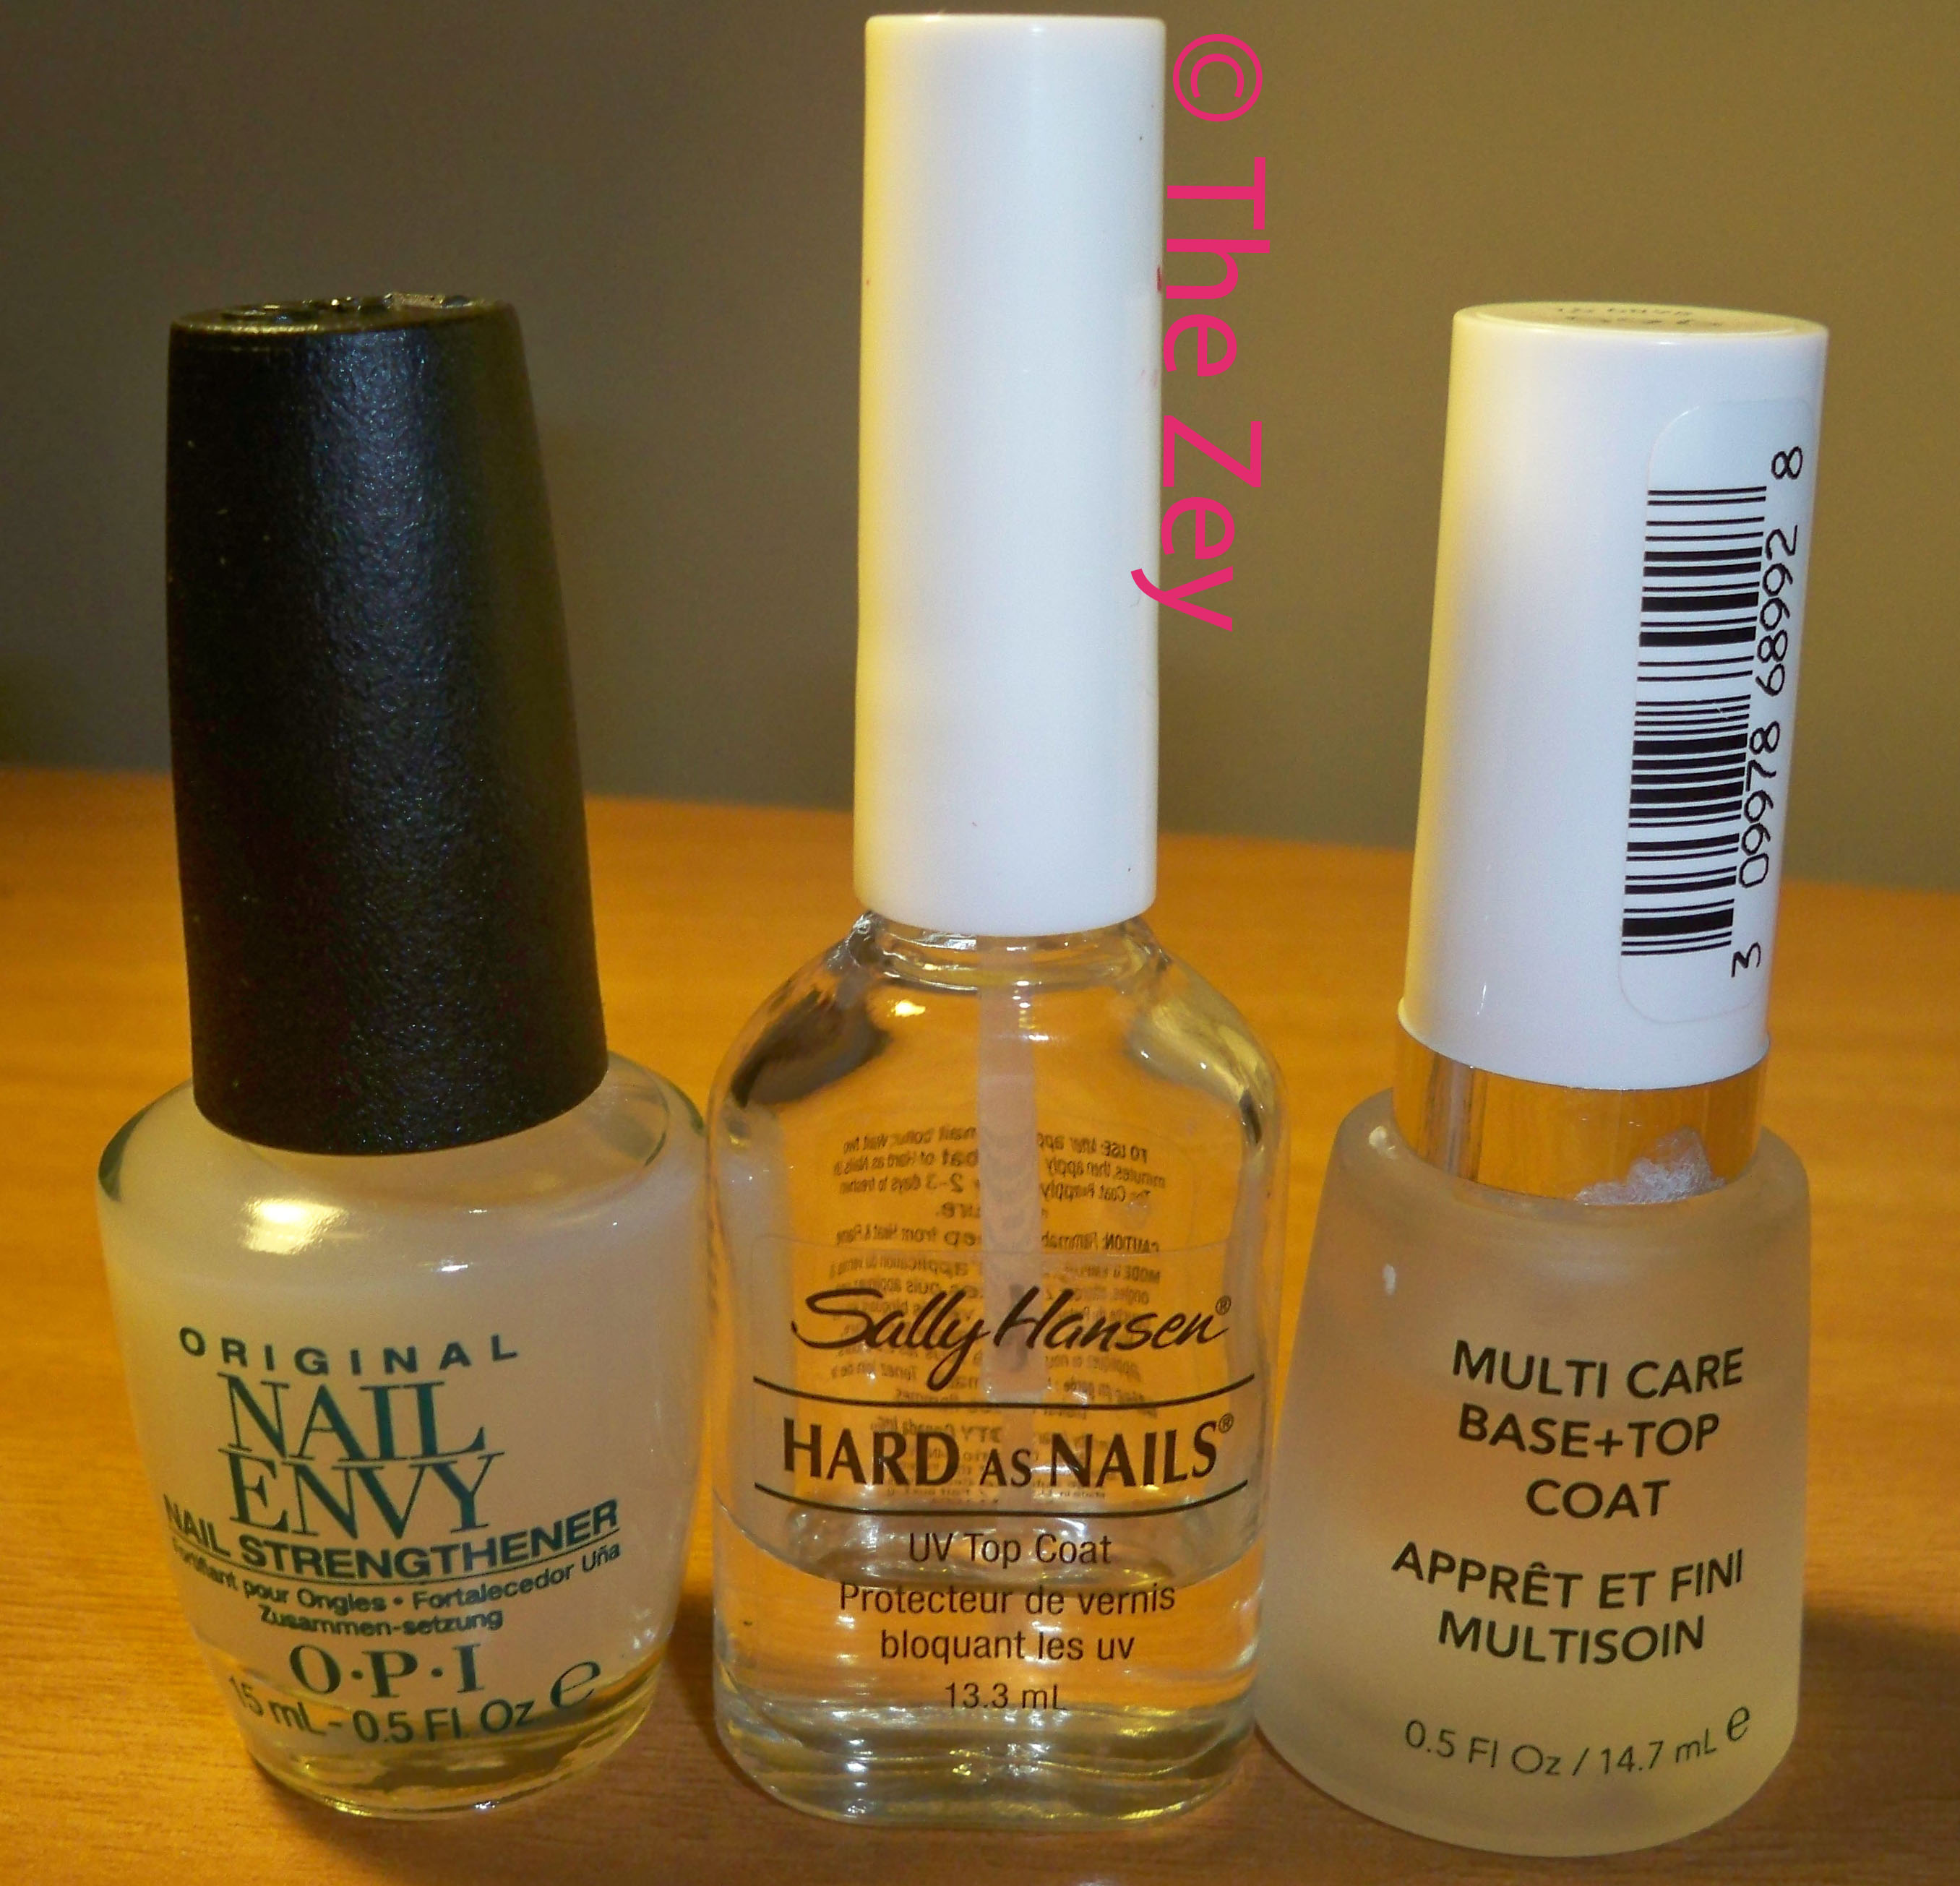 DO use a base coat and top coat regularly. This is such a simple step that many beginners, including myself, don’t pay attention to, but it can make all the difference. A base coat is going to allow the nail polish to adhere better to your nail, which will make it last longer than not using a base coat. A top coat is going to prevent those pesky chips. You put in a lot of effort to paint your nails, so why not try to make it last as long as possible?
DO use a nail strengthener if you find your nails are becoming brittle, breaking easily, or turning yellow from some polishes (Revlon is a big culprit for this). I recommend OPI’s Nail Envy, and I often use it in the place of a base coat.
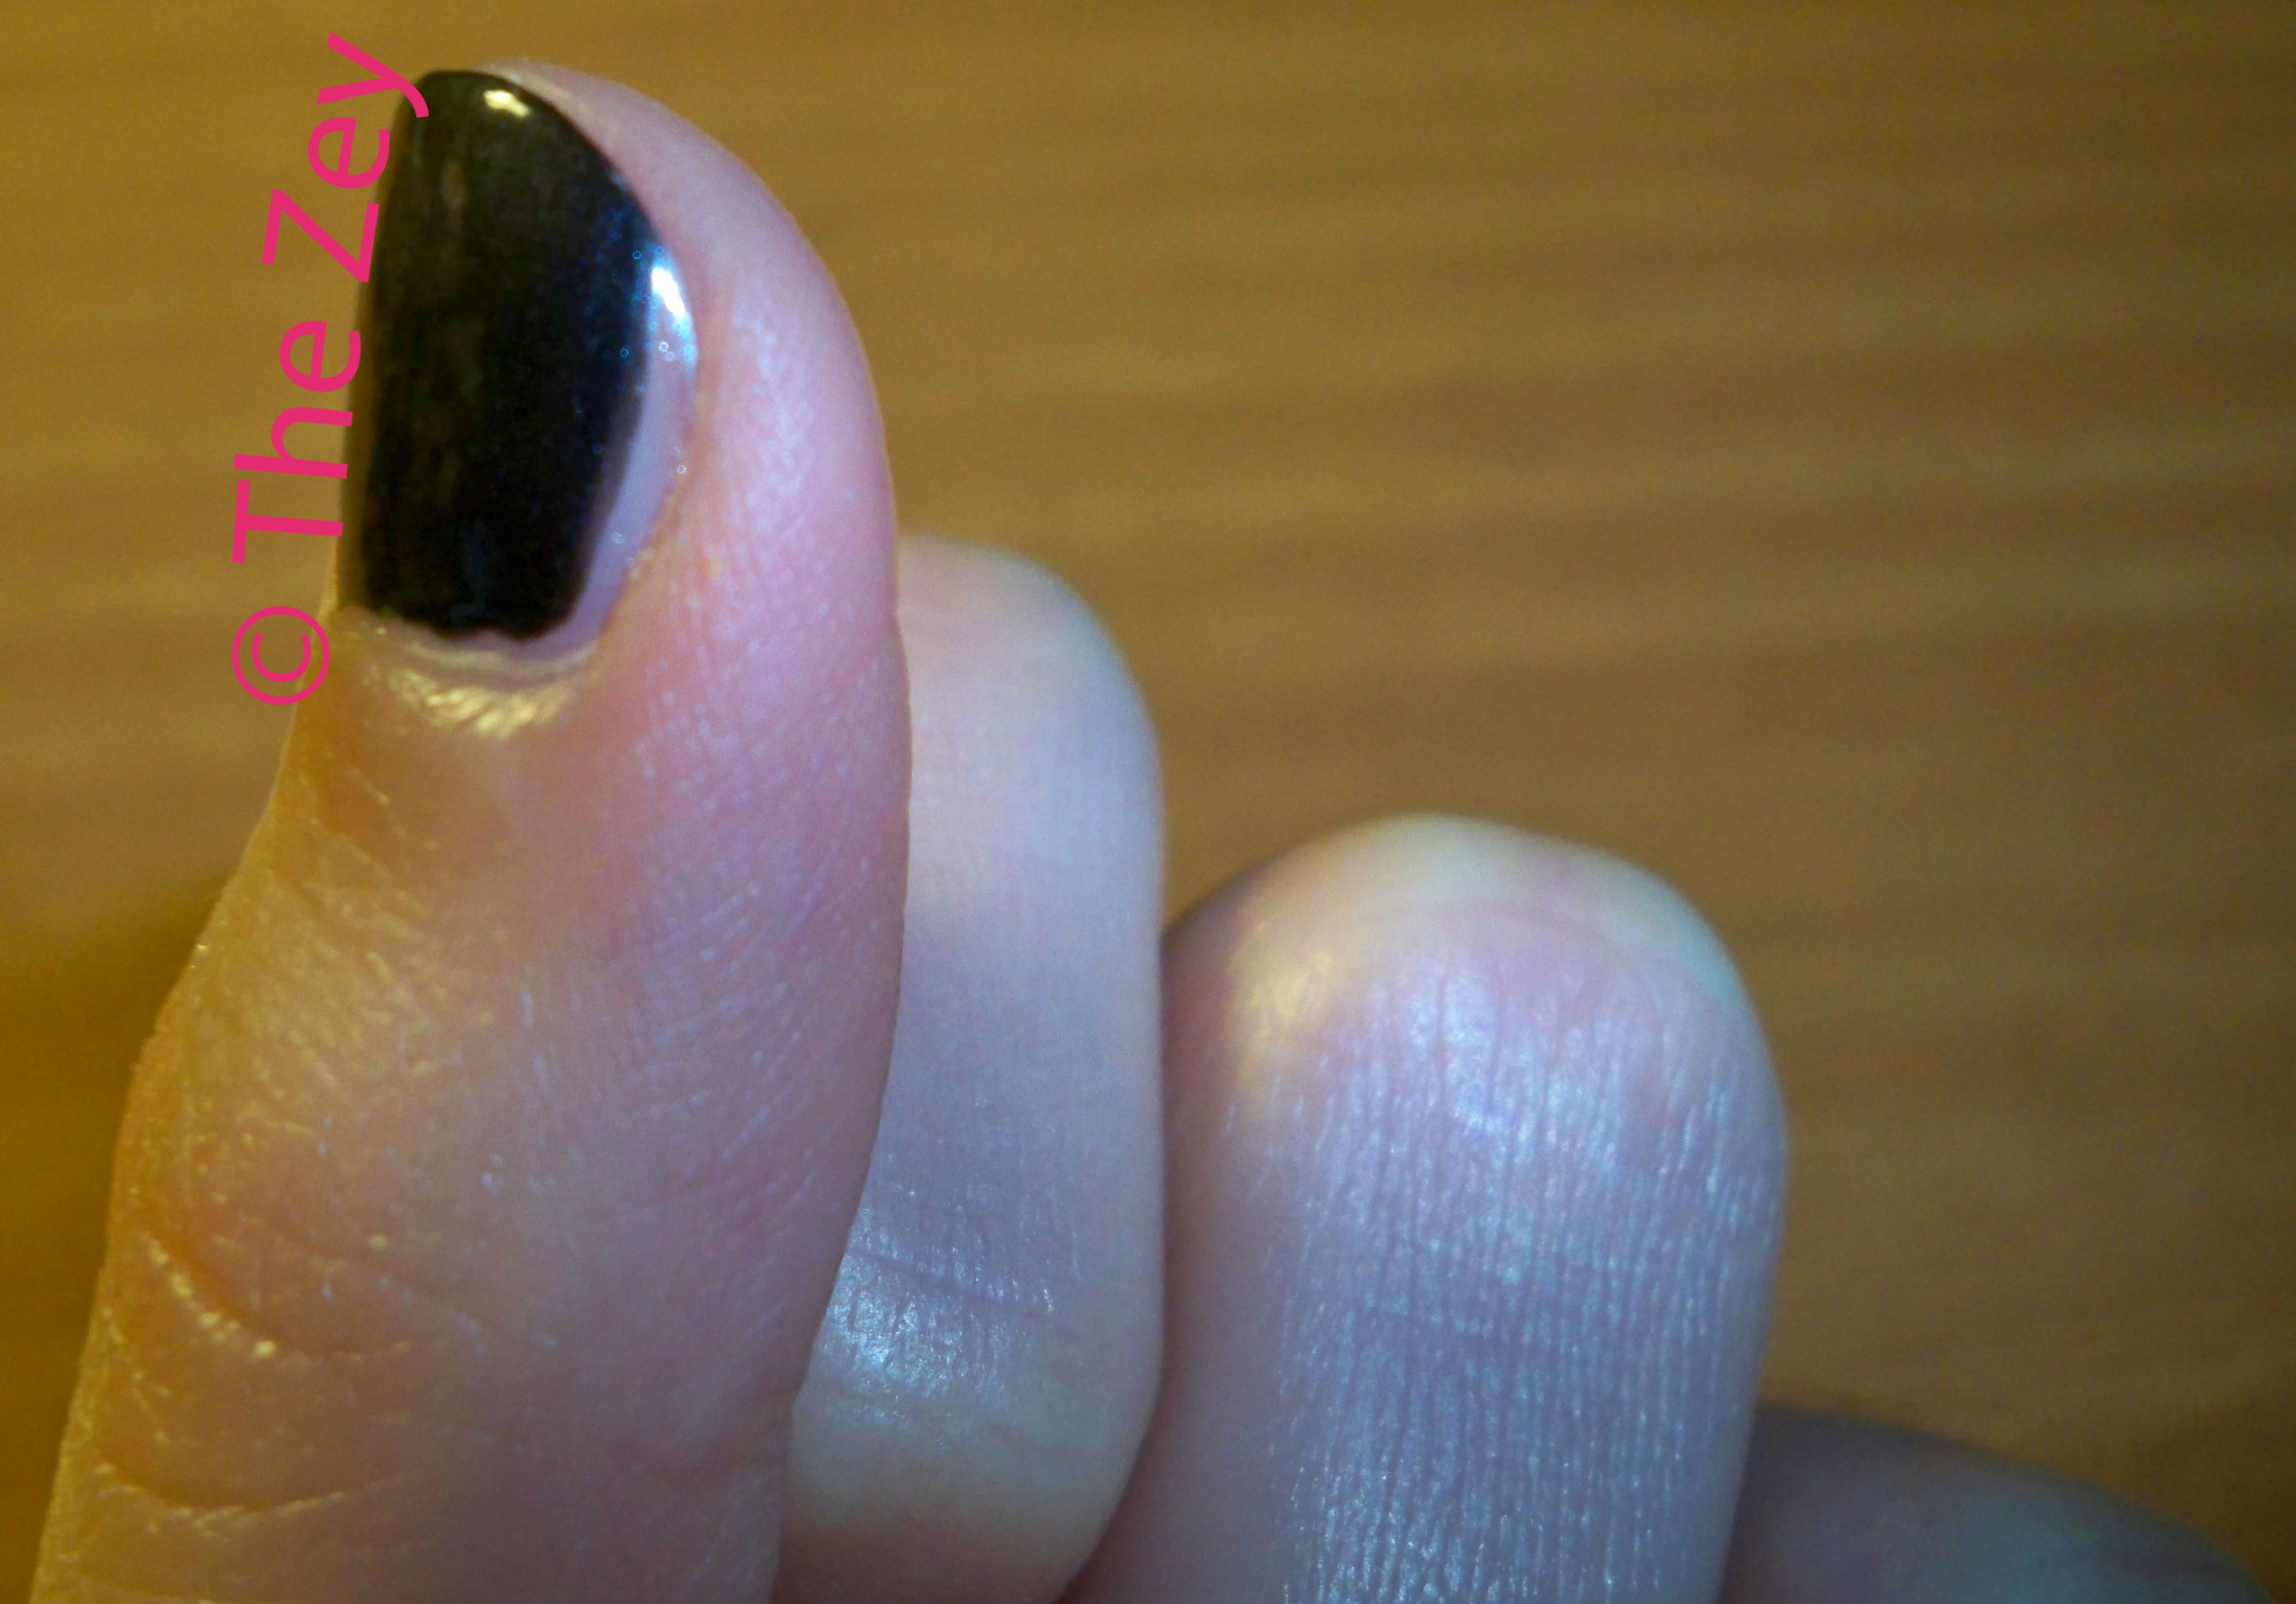 DO try to avoid the edges of your nails when painting them. This may look strange at first, but it results in a much cleaner look, helps you avoid the pooling effect that nail polish sometimes has on the edges, and creates the illusion of elongated nails. This works especially well when you have shorter nails, so you can’t see too much of the white free margin of your nails.
 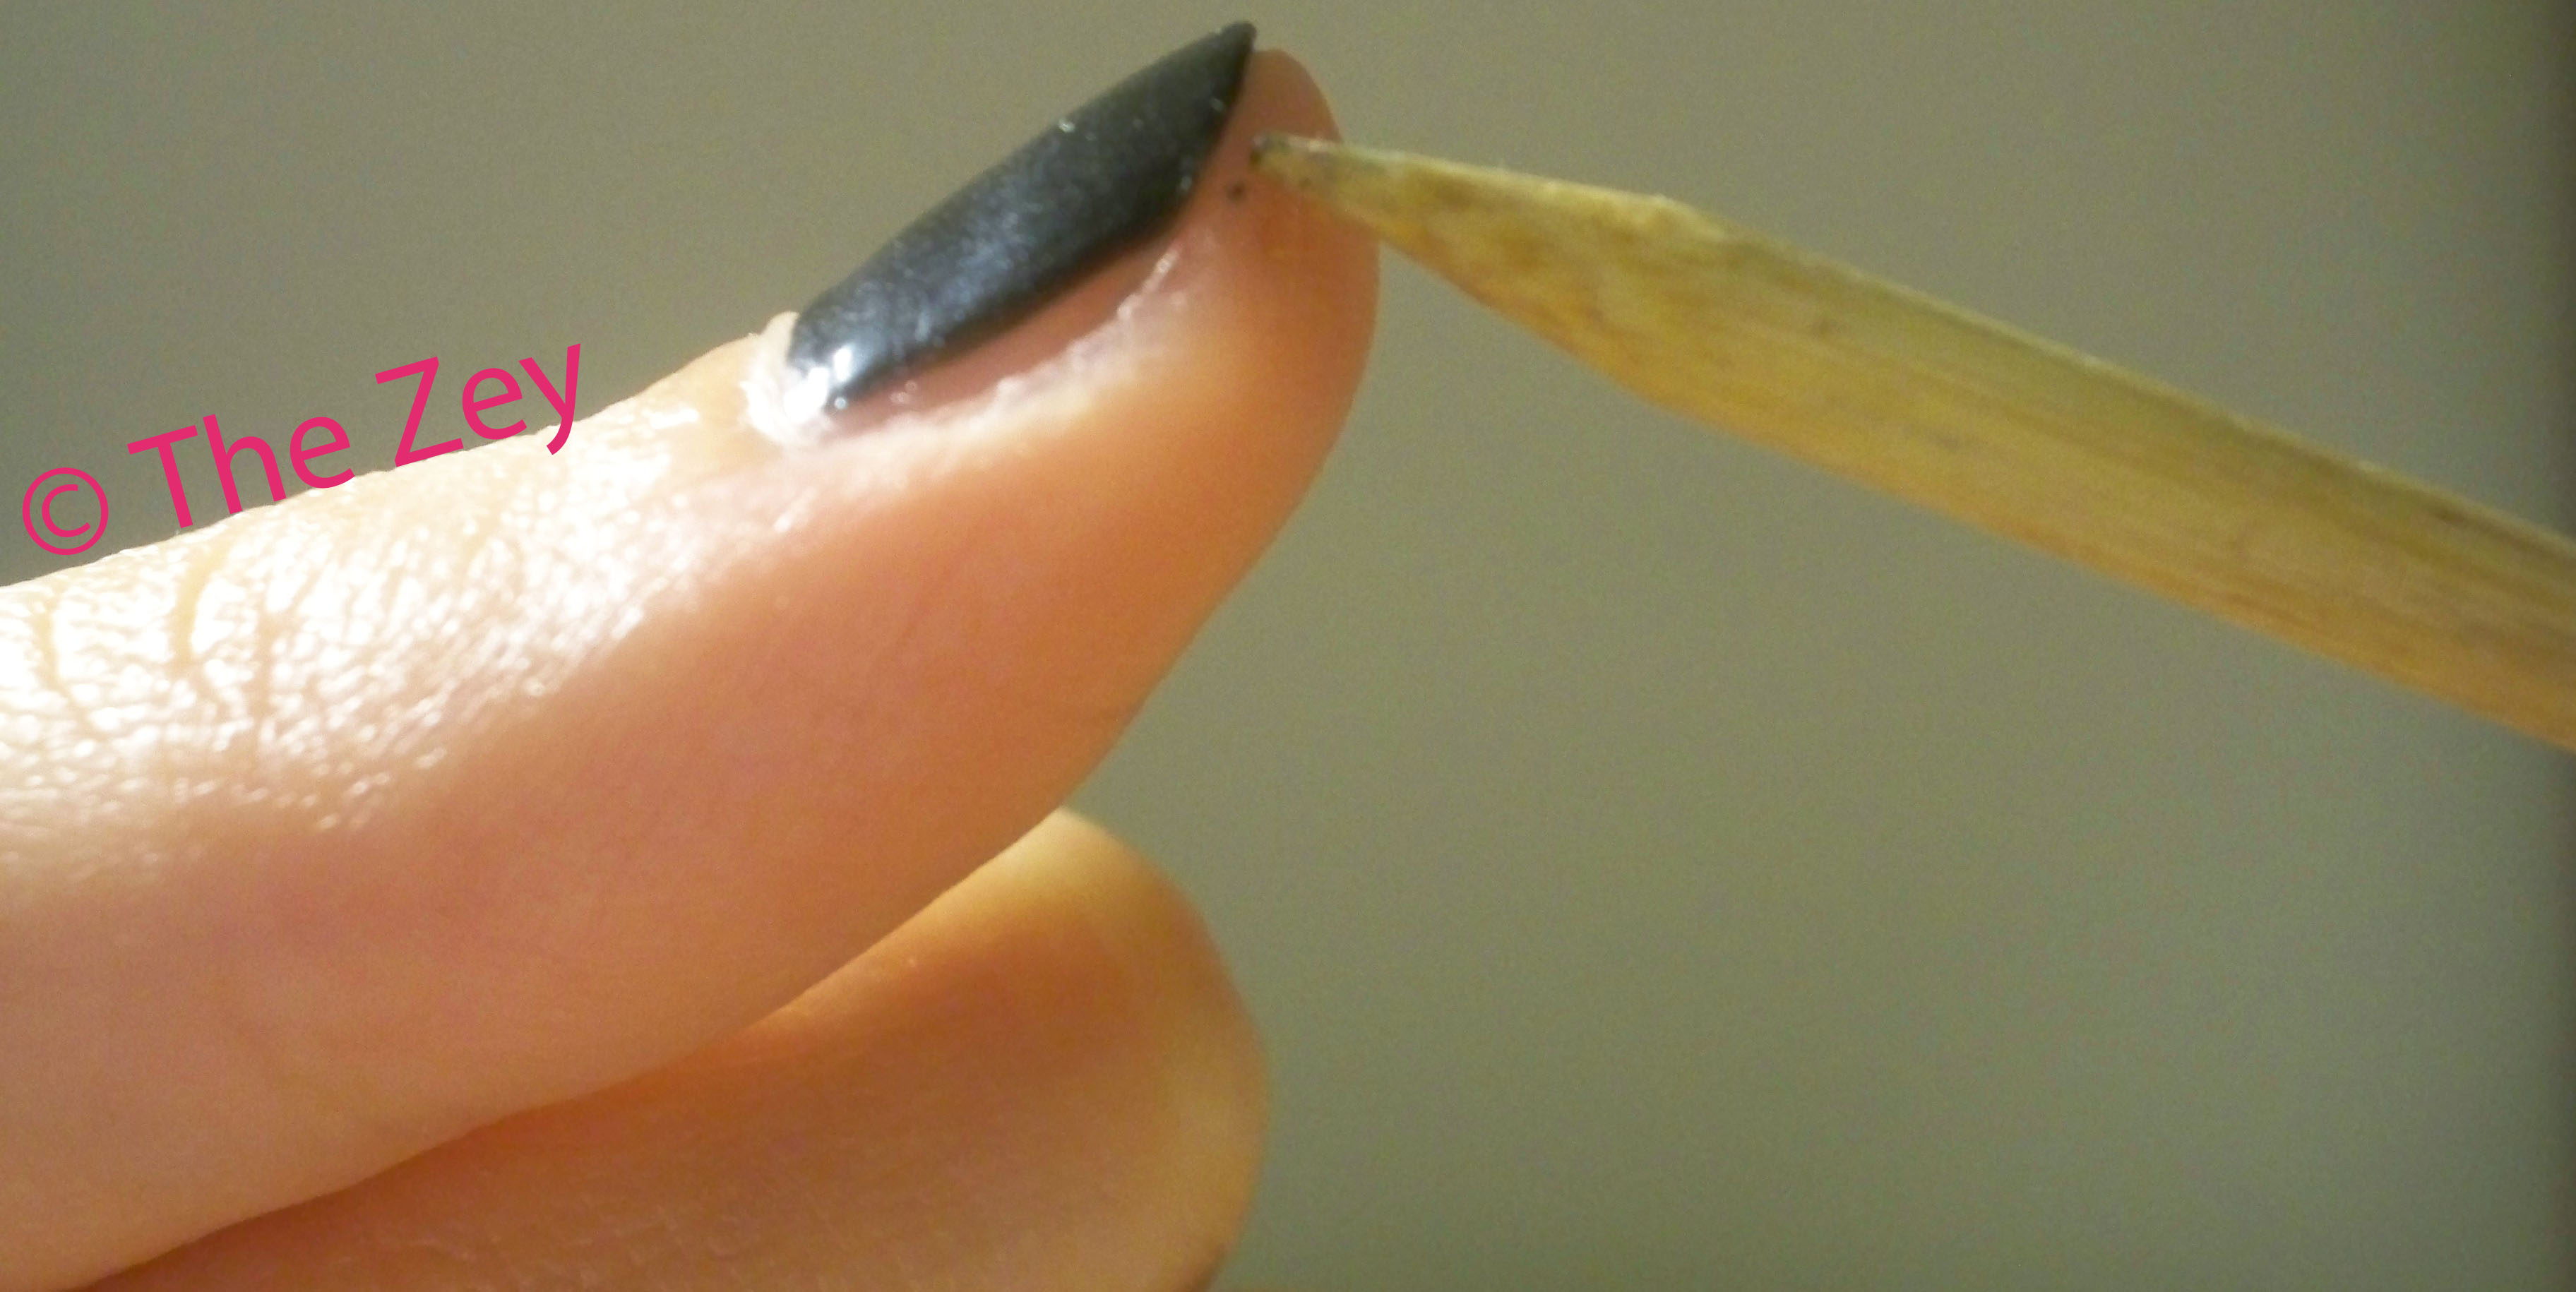 If you do need to fix up the edges or get rid of very small dots of nail polish on your skin, use the tip of an orange stick dipped in nail polish remover to clean up.
DO paint your nails in the day time. I used to paint my nails at night, wait a few hours, go to bed, and my nails would have those awful, dreaded indents by morning. I would actually recommend painting them in the morning before you need to go anywhere, eat breakfast, maybe watch a TV show, wait a few hours, and then go where you need to go. Chances are, you won’t be pressing your nails against any type of surface while you’re conscious, and by the time you go to sleep at night, your nails will be fully dry.
 DO paint one nail differently from the rest to follow the “accent nail” trend. This is usually the ring finger, and it’s a simple way to make your nails look very chic. This can be painting your ring finger a metallic colour, or a contrasting colour (e.g. a neon accent nail with neutral other nails), or adding glitter, or adding nail art.
DO hold your nails under a hair dryer if you’re in a rush and need to have your nails dried ASAP. Remember, though, that this is an occasional tip. Doing this regularly can really damage your nails.
DO give your nails a break from being painted occasionally, so they can regenerate and repair themselves.
DO practice, practice, practice. That’s how you’ll get better!
DO have fun and express your creativity!
